Migrating your React App to React Router v6

As a Frontend Engineer, I possess a keen interest in crafting web applications that are not only visually appealing but also provide a seamless user experience. My passion lies in building pixel-perfect designs that seamlessly integrate with modern web technologies. Moreover, I find great satisfaction in sharing my knowledge with others and helping them learn new skills. My areas of interest include Web3, WebGL, Animations, and ThreeJs.
Routing is important in any frontend project, the previous versions of React Router played their part in making routing configuration easier for React and React Native developers. In this article, we will be focusing on react-router-dom, which is the package that is used to configure routing in most React web apps. In this article, we will take look at how to do routing with the previous version of React Router before learning about the latest version which is React Router version 6.
This article is for developers who want to learn how to migrate their React Apps from previous versions of React Router to React Router v6, If you are new to React Router this article is also for you. I'll walk you through how to use React Router and its latest features in your React projects.
Prerequisite
To follow along with this tutorial, you’ll need the following:
- A text editor
- Node.js installed locally on your machine
- Working knowledge of HTML, CSS, and JavaScript
- Working knowledge of React
A quick walkthrough of React Router version 5(v5)
In React Router v5 we declare all of our routes in the root App component, and the BrowserRouter components wraps the entire application.
//./index.js
<BrowserRouter>
  <App />
</BrowserRouter>
//./App.js
const App = () => {
  return (
    <div className="App">
      <nav>
        <Link to="/">Home Page</Link>
        <Link to="/about">About Page</Link>
        <Link to="/product">Product Page</Link>
        <Link to="/contact">Contact Page</Link>
      </nav>

      <Switch>
        <Route></Route>
      </Switch>
    </div>
  );
};

export default App;
This is how we would set up a typical React application when using React Router v5 or older.
In the App component, we have a nav section, the nav section contains the Link component provided by React Router, which helps us navigate to different pages in the application.
After the nav section, we have the Switch component which wraps all the routes in the application.
What the Switch component essentially does is wrap all routes in the application and ensure that only one route can be active at one time.
The Switch component is where all individual routes and page components are registered
<Switch>
  <Route exact to="/">
    <Home />
  </Route>
</Switch>
Here, we specify a path in the Route component, and the page component we want to render for that path is also nested inside the Route component.
<Switch>
  <Route exact to="/" component={<Home />} />
</Switch>
We can also use the component prop on the Route component instead of nesting, to specify which component should be rendered for a specific path.
If you are new to React Router, you should now have an idea of how it works. If you already know how it works, let's dive into React Router version 6.
Moving on to React Router version 6 (v6)
Getting started
Open up the terminal and create a new React project by running the following command:
> npx create-react-app ReactRouterv6Demo
> cd ReactRouterv6Demo
Next, install React Router as a dependency in the React app:
> npm install react-router-dom@6
This command will install the latest version of react-router-dom, which is version 6.
After installing the React router dependency, we'll need to add some code to the src/index.js file.
// React Router v6
import React from "react";
import ReactDOM from "react-dom/client";
import App from "./App";
import { BrowserRouter } from "react-router-dom";

ReactDOM.createRoot(document.getElementById("root")).render(
  <React.StrictMode>
    <BrowserRouter>
      <App />
    </BrowserRouter>
  </React.StrictMode>
);
We import the BrowserRouter component from react-router-dom, then wrap the App component with the BrowserRouter component, now we are set up to use React Router components and hooks in our app.
Routes configuration in React Router v6
In previous versions of React Router, the Switch component wraps the individual Route components in the App.
In React Router v6 the individual Route are placed in a Routes component.
// React Router v6
<Routes>
  <Route />
  <Route />
</Routes>
The Routes component replaces the Switch component in React Router v6.
// React Router v6
// ./ App.jsx
import { Routes, Route } from "react-router-dom";
import About from "./components/About";
import Home from "./components/Home";

const App = () => {
  return (
    <div className="App">
      <h1>React Router</h1>
      <Routes>
        <Route path="/" element={<Home />} />
        <Route path="/about" element={<About />} />
      </Routes>
    </div>
  );
};

export default App;
Another change in React Router v6 is how we register the page component we want to render when we navigate to a specific path.
Here we do not nest the component instead we use the element prop provided by React Router v6, this element prop is set to the page component we want to render.
Also, we do not need the exact keyword in React Router v6 because the default behavior of the Route component in v6 is to exactly match each defined path.
How to Set Up a 404 page
In previous versions of React Router we would set up routing for a 404 page like so;
<Route>
    <NotFound />
<Route/>
NotFound component is the page component we want to render when a user logs on to a page that doesn't exist, also we do not specify a path here.
Next up, Let's look at how to set up a 404page in v6
First create a NotFound component in the component folder.
//./component/NotFound.js
import React from "react";

const NotFound = () => {
  return (
    <div>
      <h1>404 Page</h1>
      <p>The page you are trying to access does not exist</p>
    </div>
  );
};

export default NotFound;
Next we'll setup the 404page route
<Route path="*" element={<NotFound />} />
Here's how we would set up the 404page Route in React Router v6, we have a catch all routes path which is "*", this path we specified picks up anyone trying to access a page that doesn't exist and displays the 404page.
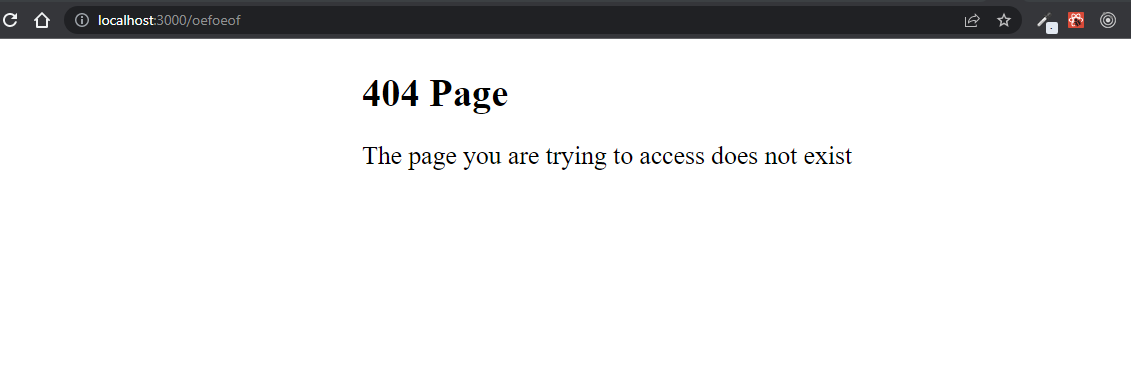 when you log on to a route that does not exist you should see a 404 page similar to this.
Writing inline jsx templates in Route component
In React Router v6, we can inline some JSX template inside the element prop instead of creating a page component
<Route
  path="/test"
  element={
    <div>
      <h2>Test Page</h2>
      <p>Hello test page</p>
    </div>
  }
/>
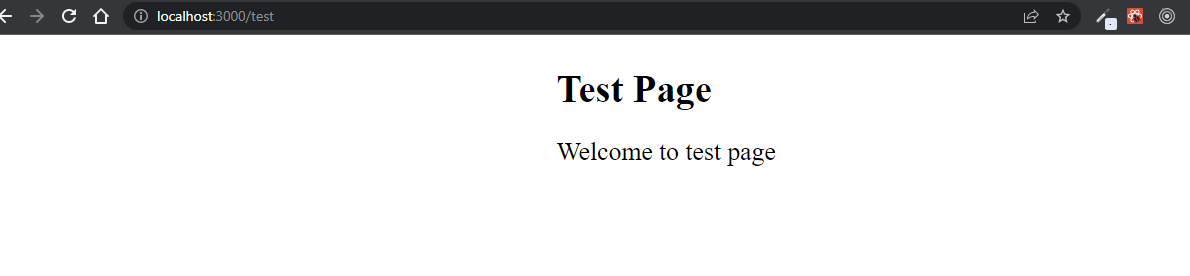 A page similar to this is rendered in the browser when we log on to
 /test
Redirects
Next up is to look at how we do redirects for certain routes and how we can programmatically redirect users.
In previous versions of React Router, to perform redirects we use the Redirect component.
In v6 the Redirect component does not exist, instead we use a new component from React Router v6, which is the Navigate component.
<Route path="/redirect" element={<Navigate to="/about" />} />
When a user logs on to /redirect, the user is redirected to the About page.
Programmatic Redirects
To programmatically redirect users, in previous versions of React Router we use the useHistory hook
import {useHistory} from "react-router-dom"
const history = useHistory()

<button onClick={() => history.push("/products")} >Click me</button>
In React Router v6 the useHistory hook is replaced with the useNavigate hook, the useNavigate hook works exactly the same way as the useHistory hook
import {useNavigate} from "react-router-dom"
const navigate = useNavigate()

<button onClick={() => navigate("/products")} >Click me</button>
The difference between using the useHistory hook and the useNavigate hook is, we do not need to call the push method on the useNavigate hook to redirect the user
Nested Routes
In previous versions of React Router here is how we would nest routes.
<Route path="/about/offers>
  <Offers />
</Route>
There is a change in how we do nested routes in React Router v6.
First, we import the Routes and Route components.
// ./Product.jsx
import { Routes, Route } from "react-router-dom";
import Offers from "./Offers";

<Routes>
  <Route path="/offers" element={<Offers />} />
</Routes>;
Here in React Router v6, the Route component will be nested inside the Routes component, we use the element prop to set the page component we want to render unlike in previous versions where we only nest the page component inside the Route component.
Another change in how we do nested routes in v6 is how to set the path, instead of writing out the parent path with the nested path, here nested routes path becomes relative to the parent path. The offers path is just attached to the end of the parent path (Product page).
Next up, in the App.jsx file where we have all the routes in the application, we have to make some changes to the Route component that links to the product Product page.
<Route path="/product" element={<Product />} />
This Product Route component is currently set to match exactly the product path, anything after the "/product" is neglected, which means the nested offers path will be neglected.
To avoid this, we add "/*" to the product path.
<Route path="/product/*" element={<Product />} />
The "/*" means to match any slug or path that comes after the product path.
Conclusion
If you finished reading this article, you should now have a good base knowledge of React Router v6 and be able to use it in your React projects. So that's it for this article, there's more on React Router that we didn't touch in this article.
You can check out some of the following resources, to learn more about React Router v6 👇:
Give these resources a read.
As always thanks for giving it a read, give it a like 👍, share it with others too, and if you still got any questions then drop them down in the comments. THANKS FOR READING! 💖
if you enjoyed reading this as much as I enjoyed writing it, then Like and Share this with your friends and feel free to follow me on Twitter 👨💻.


